Add a Network Controller to design
In this guide, you'll learn how to add and configure a Network Controller in your E-lighthouse Network Planner (ENP) network design.
✅ Prerequisite: Ensure that a network design is loaded and active in the Topology View. If not, start with the Create a Network Design tutorial.
🧠 What is a Network Controller?
In ENP, a Network Controller represents an external SDN controller that governs a subset of nodes and links within a network domain. These controllers can manage behaviors such as routing logic, traffic engineering, and real-time monitoring — typically in IP/MPLS environments.
ENP acts as a multi-domain orchestration platform, meaning it can also connect to optical SDN controllers, enabling unified design and analysis across both packet and transport layers.
When you perform a Topology Discovery, ENP queries the controller’s live state, imports its internal topology view, and integrates it into your design. This may include:
-
Discovered nodes, links, and ports
-
Protocol or configuration metadata
-
Domain boundaries and control scopes
This feature allows ENP to align your network model with real-world controller data — across IP, MPLS, and optical transport domains — providing a foundation for full-stack simulation and orchestration.
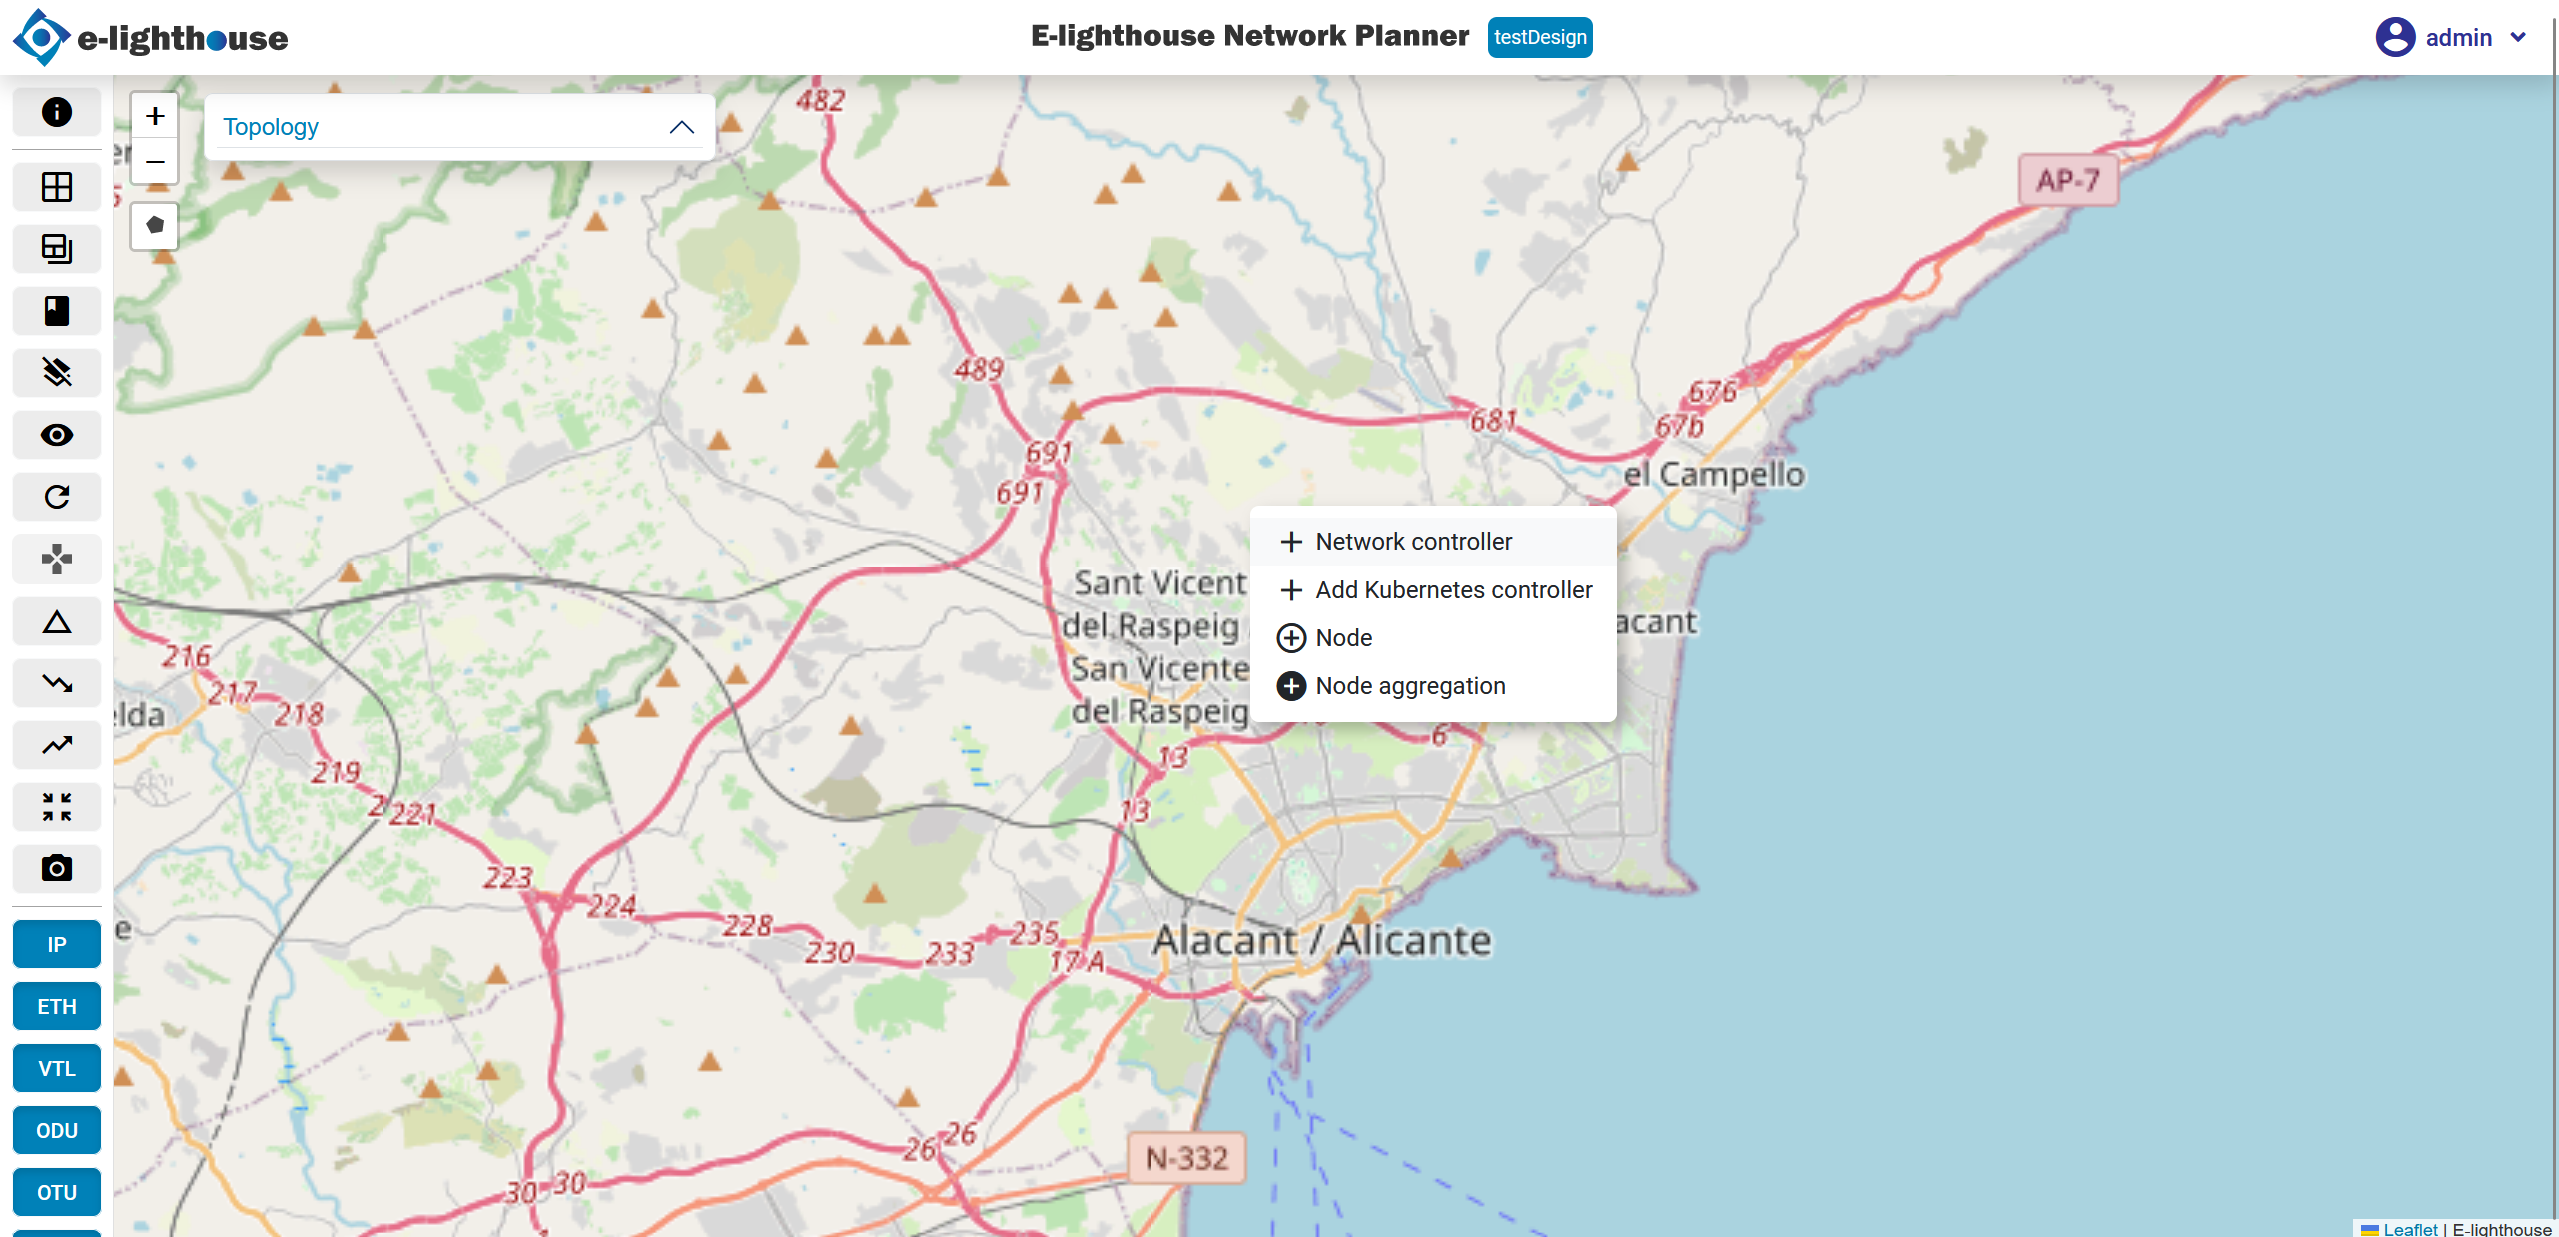
⚙️ Step 1: Open the Controller Menu
- In the Topology View, right-click anywhere on the canvas to open the context menu.
- Select the “Network Controller” option.
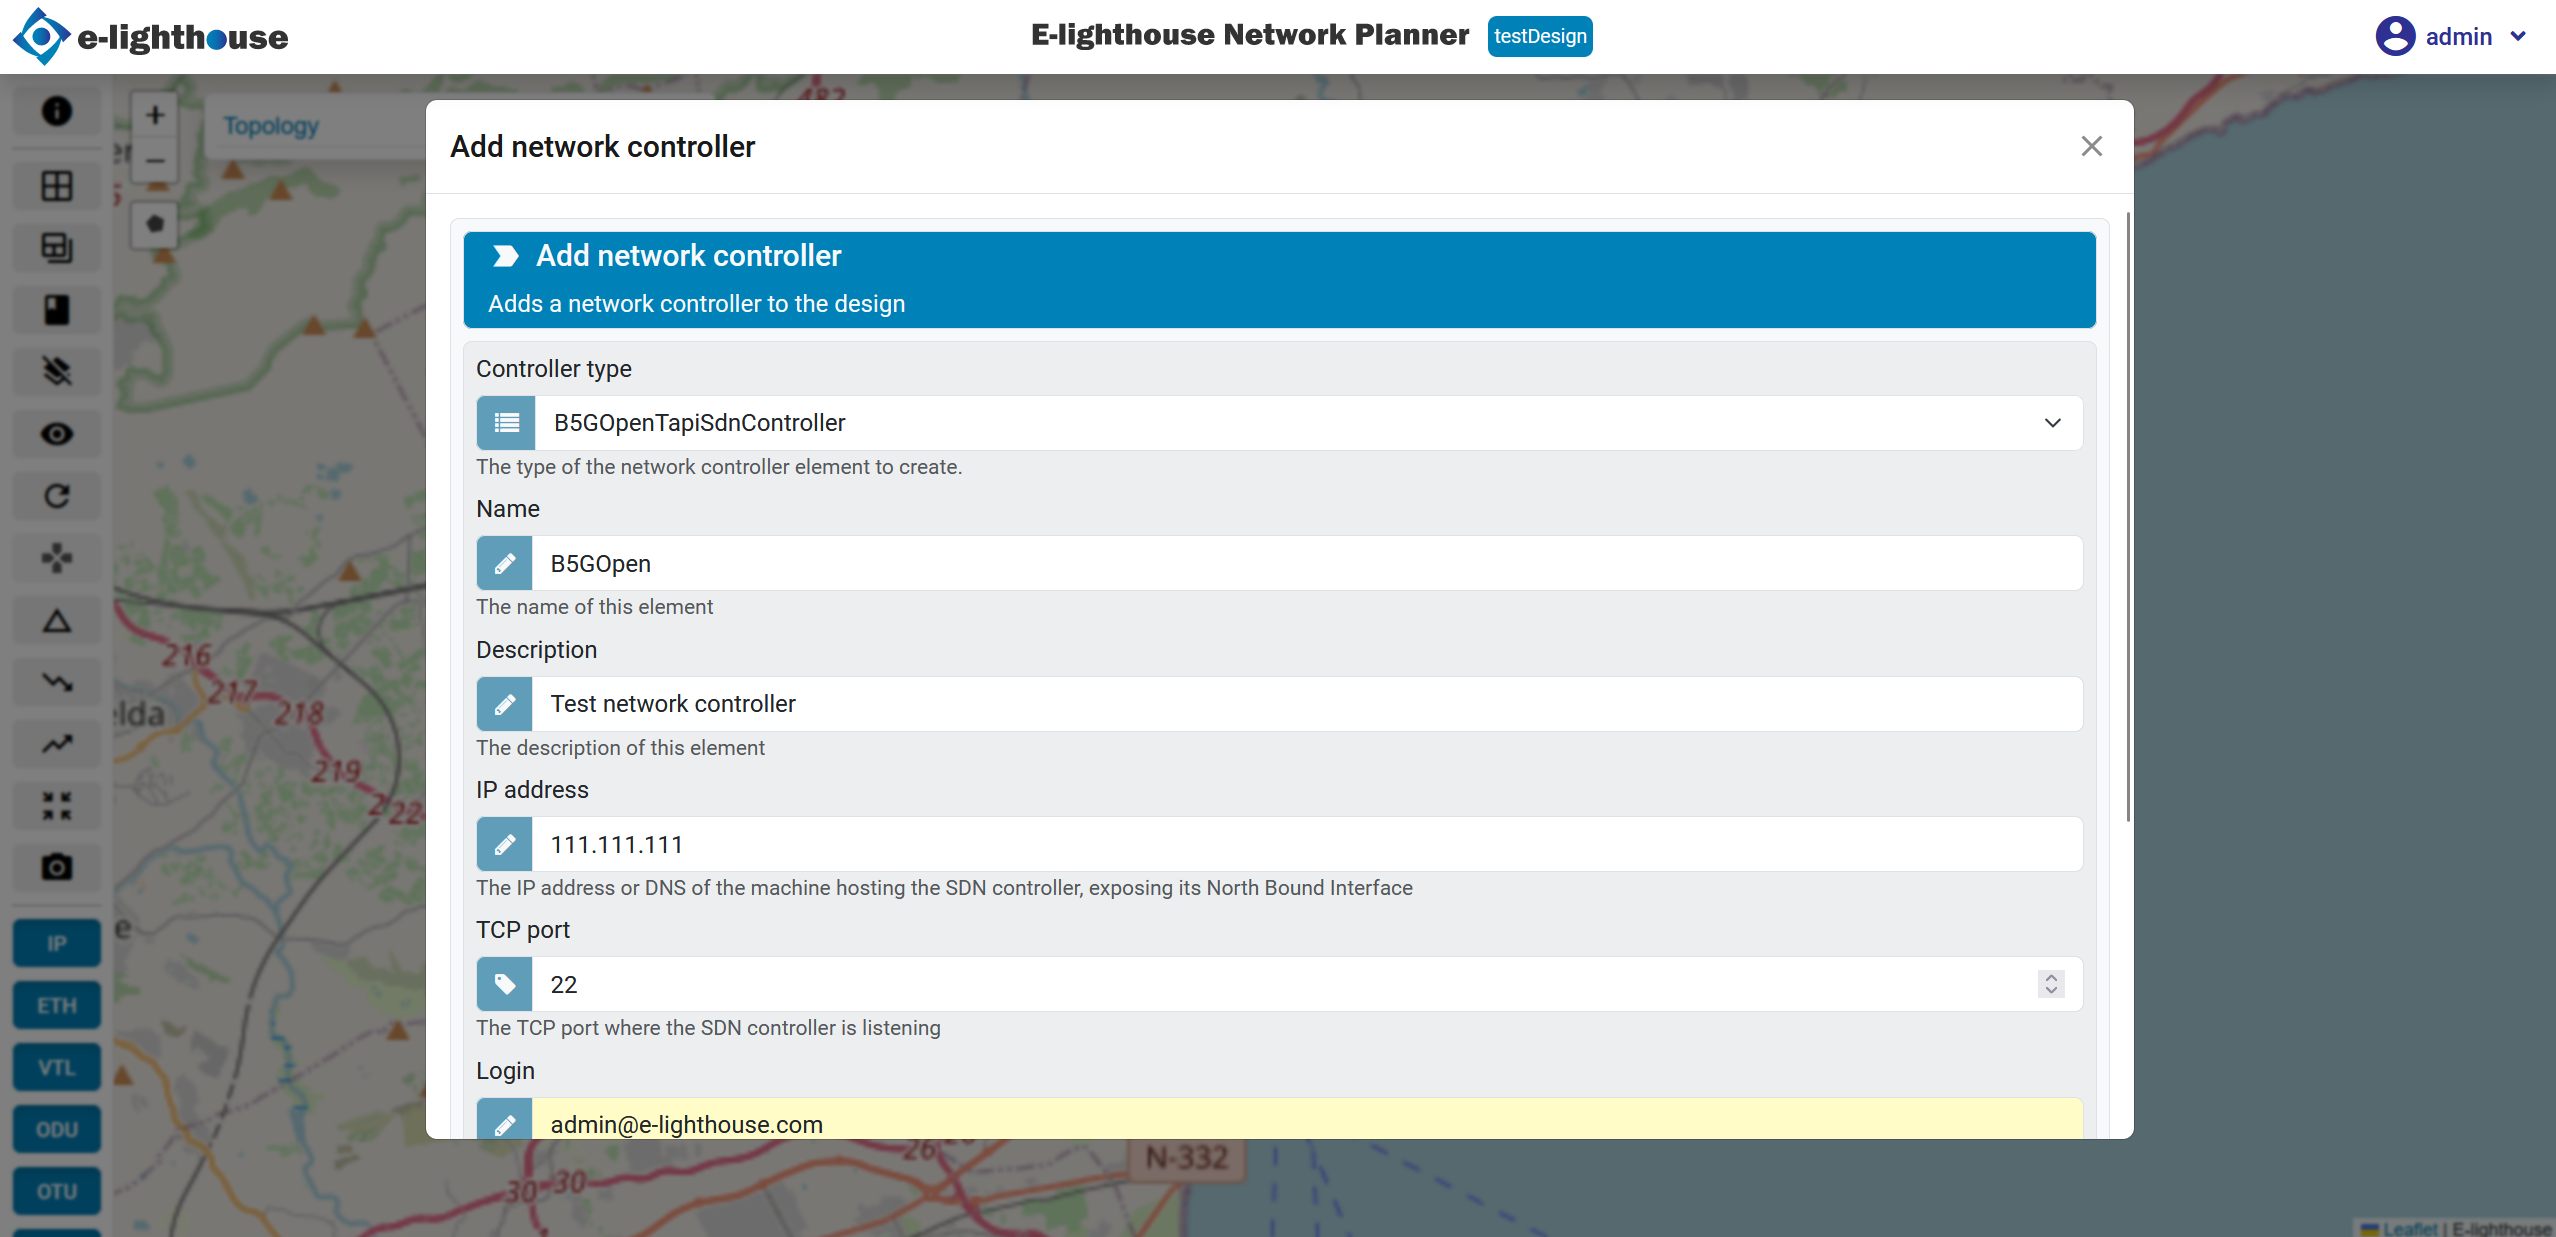
📝 Step 2: Complete the Controller Form
After selecting the option, a configuration form will appear.
Fill in the necessary controller parameters:
- Controller type (e.g., IETF, TAPI, etc.)
- Name
- Description (optional)
- IP address. This is the controller's management IP address.
- Port number. The port used for communication with the controller.
- Authentication (if required)
- Username and password (if applicable)
✅ Step 3: Confirm Controller Creation
Once the form is complete, submit it to create the controller. You’ll receive a confirmation message upon successful creation.
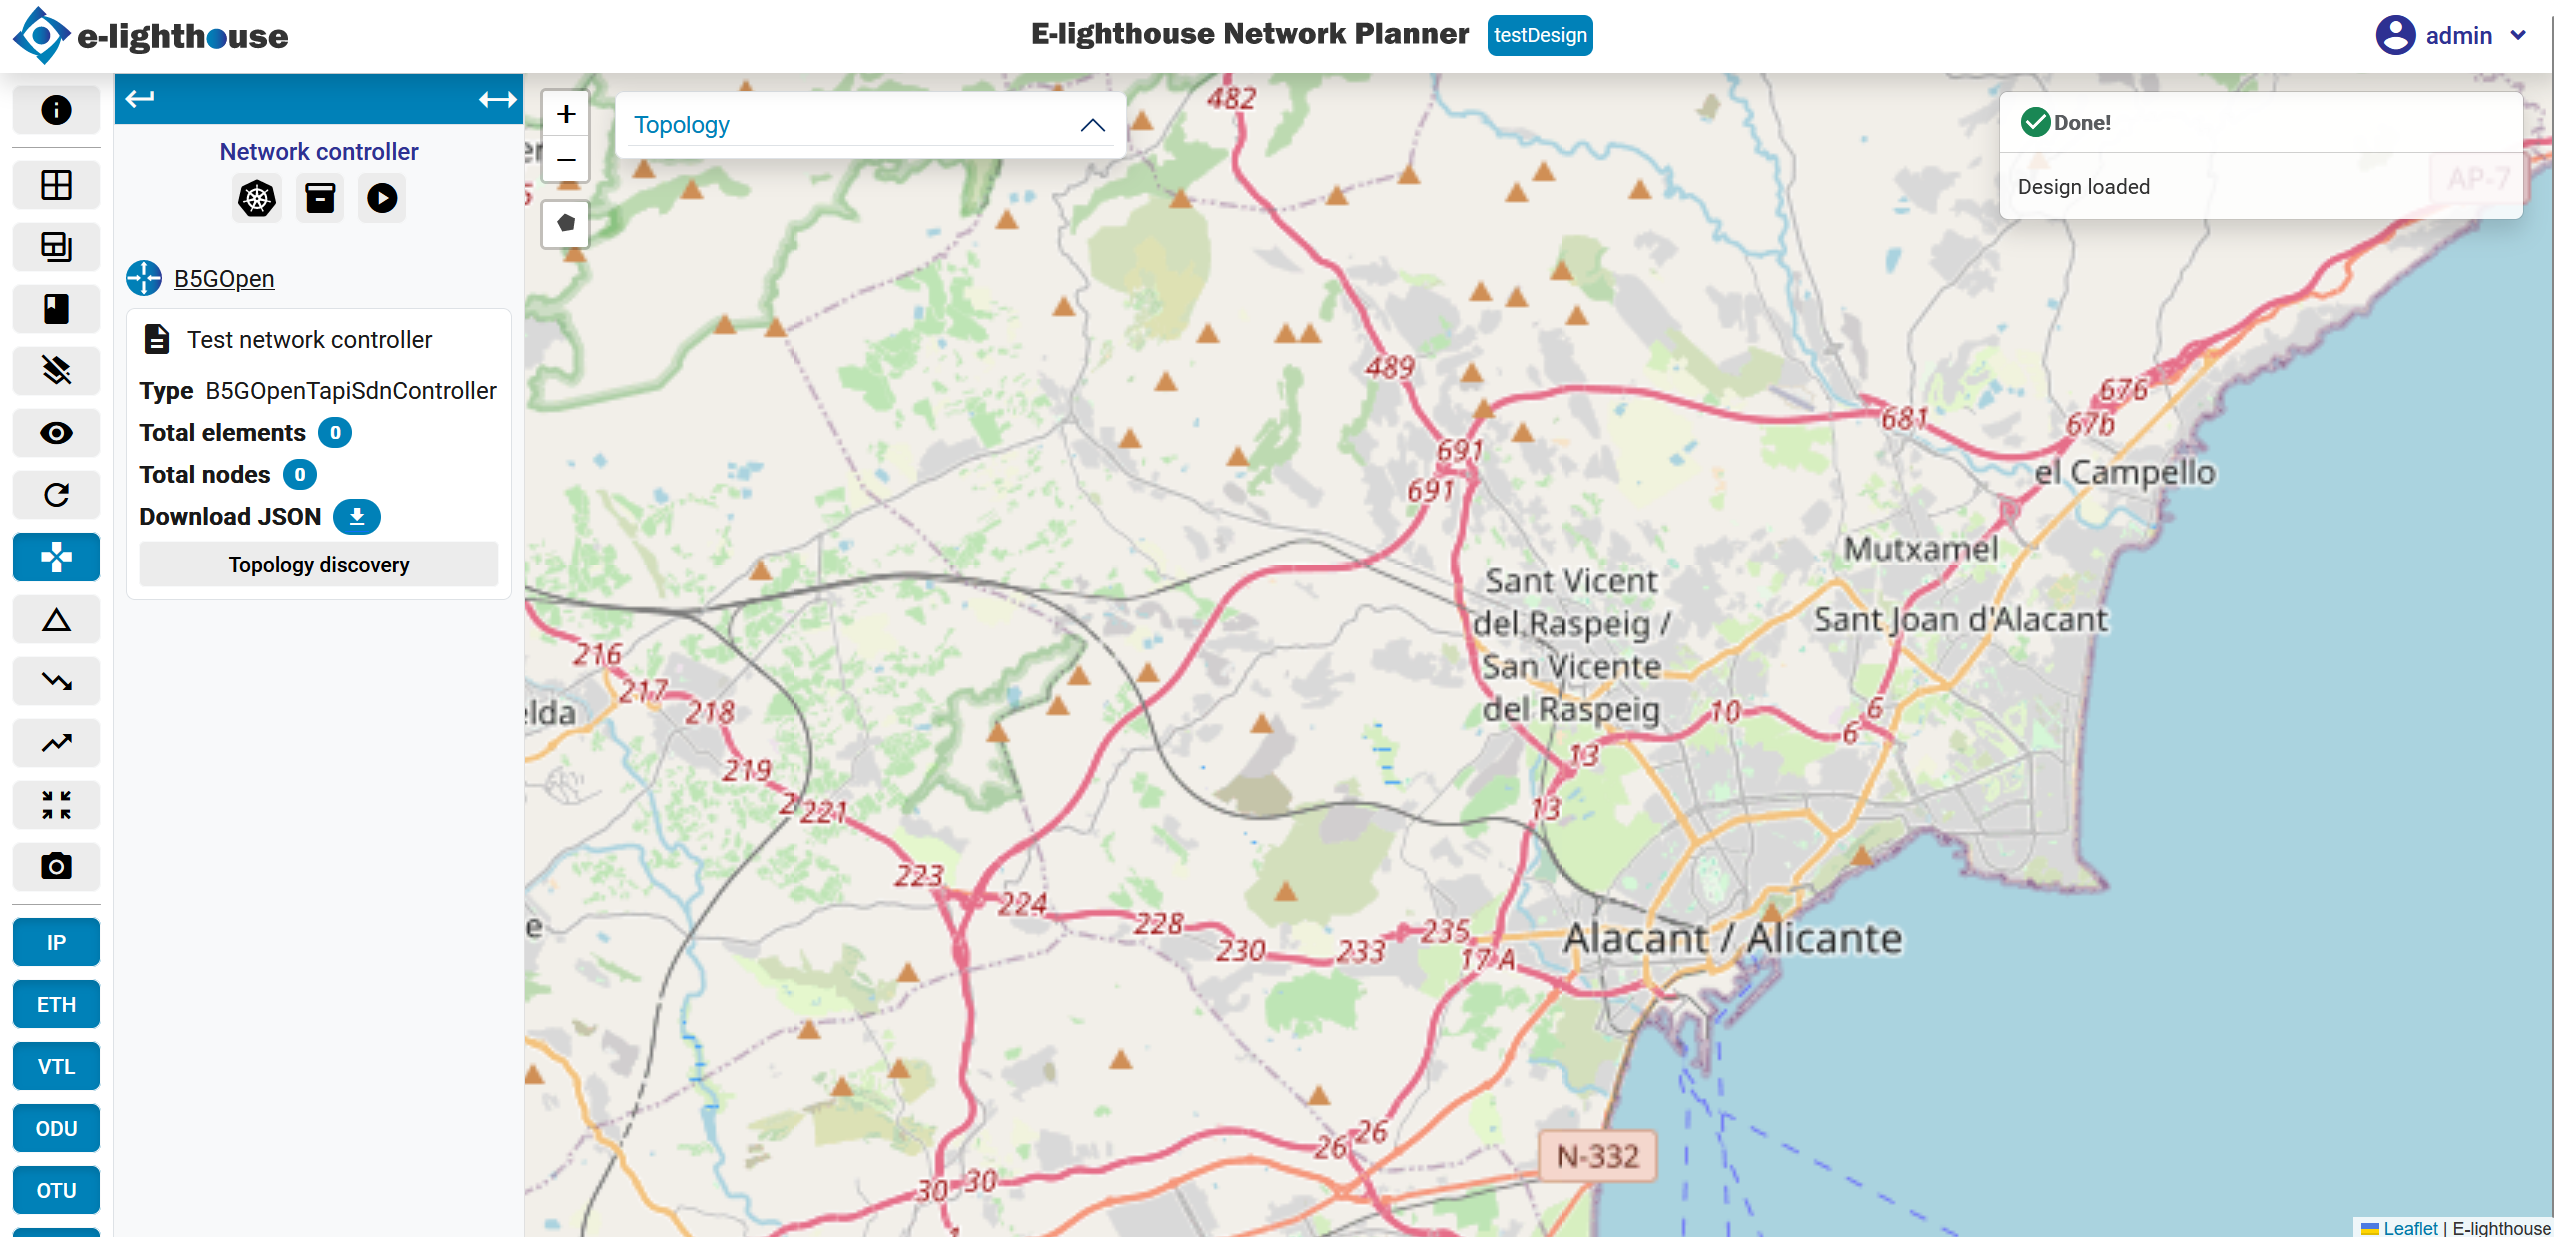
🌐 Step 4: Perform Topology Discovery
To visualize the controller’s managed topology:
- From the Topology View, in the left panel, locate the "Network Controller" section.
- Click the "Topology Discovery" option from the controller context panel.
- ENP will connect to the controller and import its internal topology, displaying the discovered elements on the canvas.
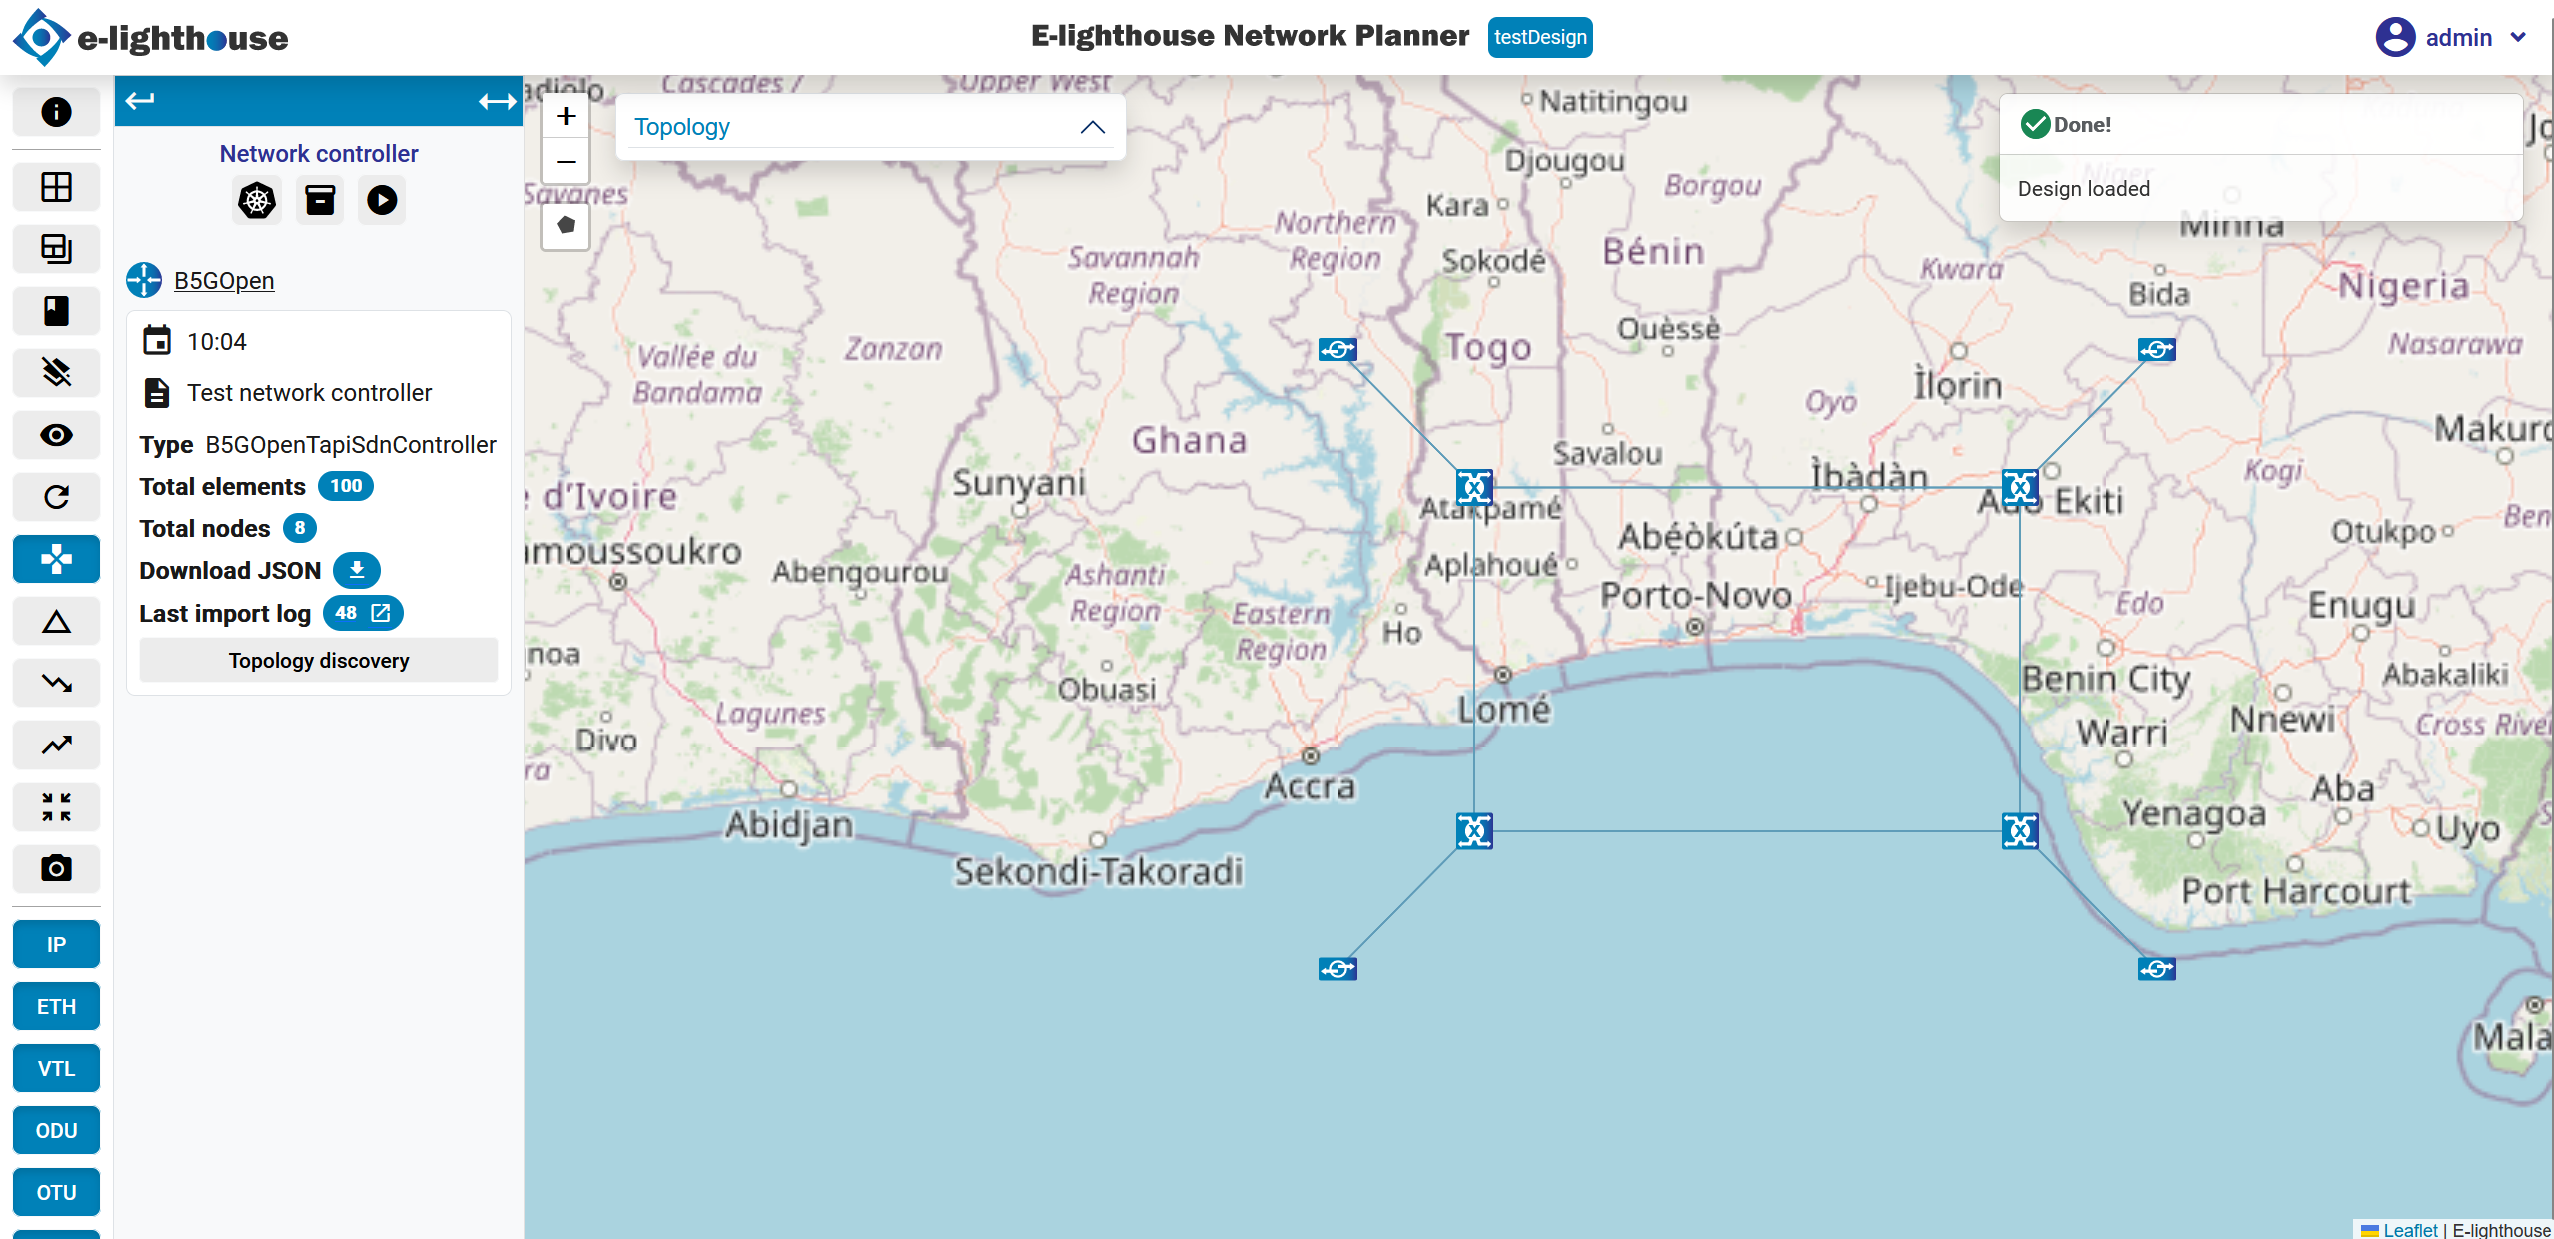
✅ Summary
You’ve successfully added and visualized a Network Controller by:
- Accessing the contextual menu in the Topology View
- Providing key configuration parameters
- Using Topology Discovery to import the controller's internal view of the network
This enables real-time SDN integration and enhances the modeling of dynamic and intelligent networks.