How to Create a New Network Design
This guide walks you through the process of creating a new network design using the E-Lighthouse Network Planner (ENP) Web Client Interface.
Follow these steps to start a new design project from the File System.
1. Access the File System Panel
To begin, open the File System view from the top toolbar of the Web Client. This is the entry point for creating, managing, and importing network designs.
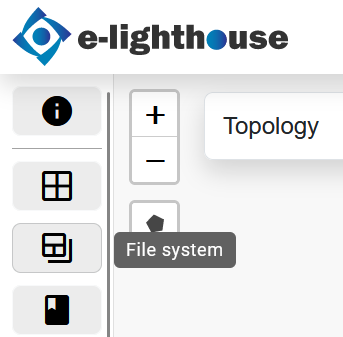
2. Open the New Design Creation Modal
Click the File System button to open a modal dialog window. Alternatively, you can reach this section from the Control Window.
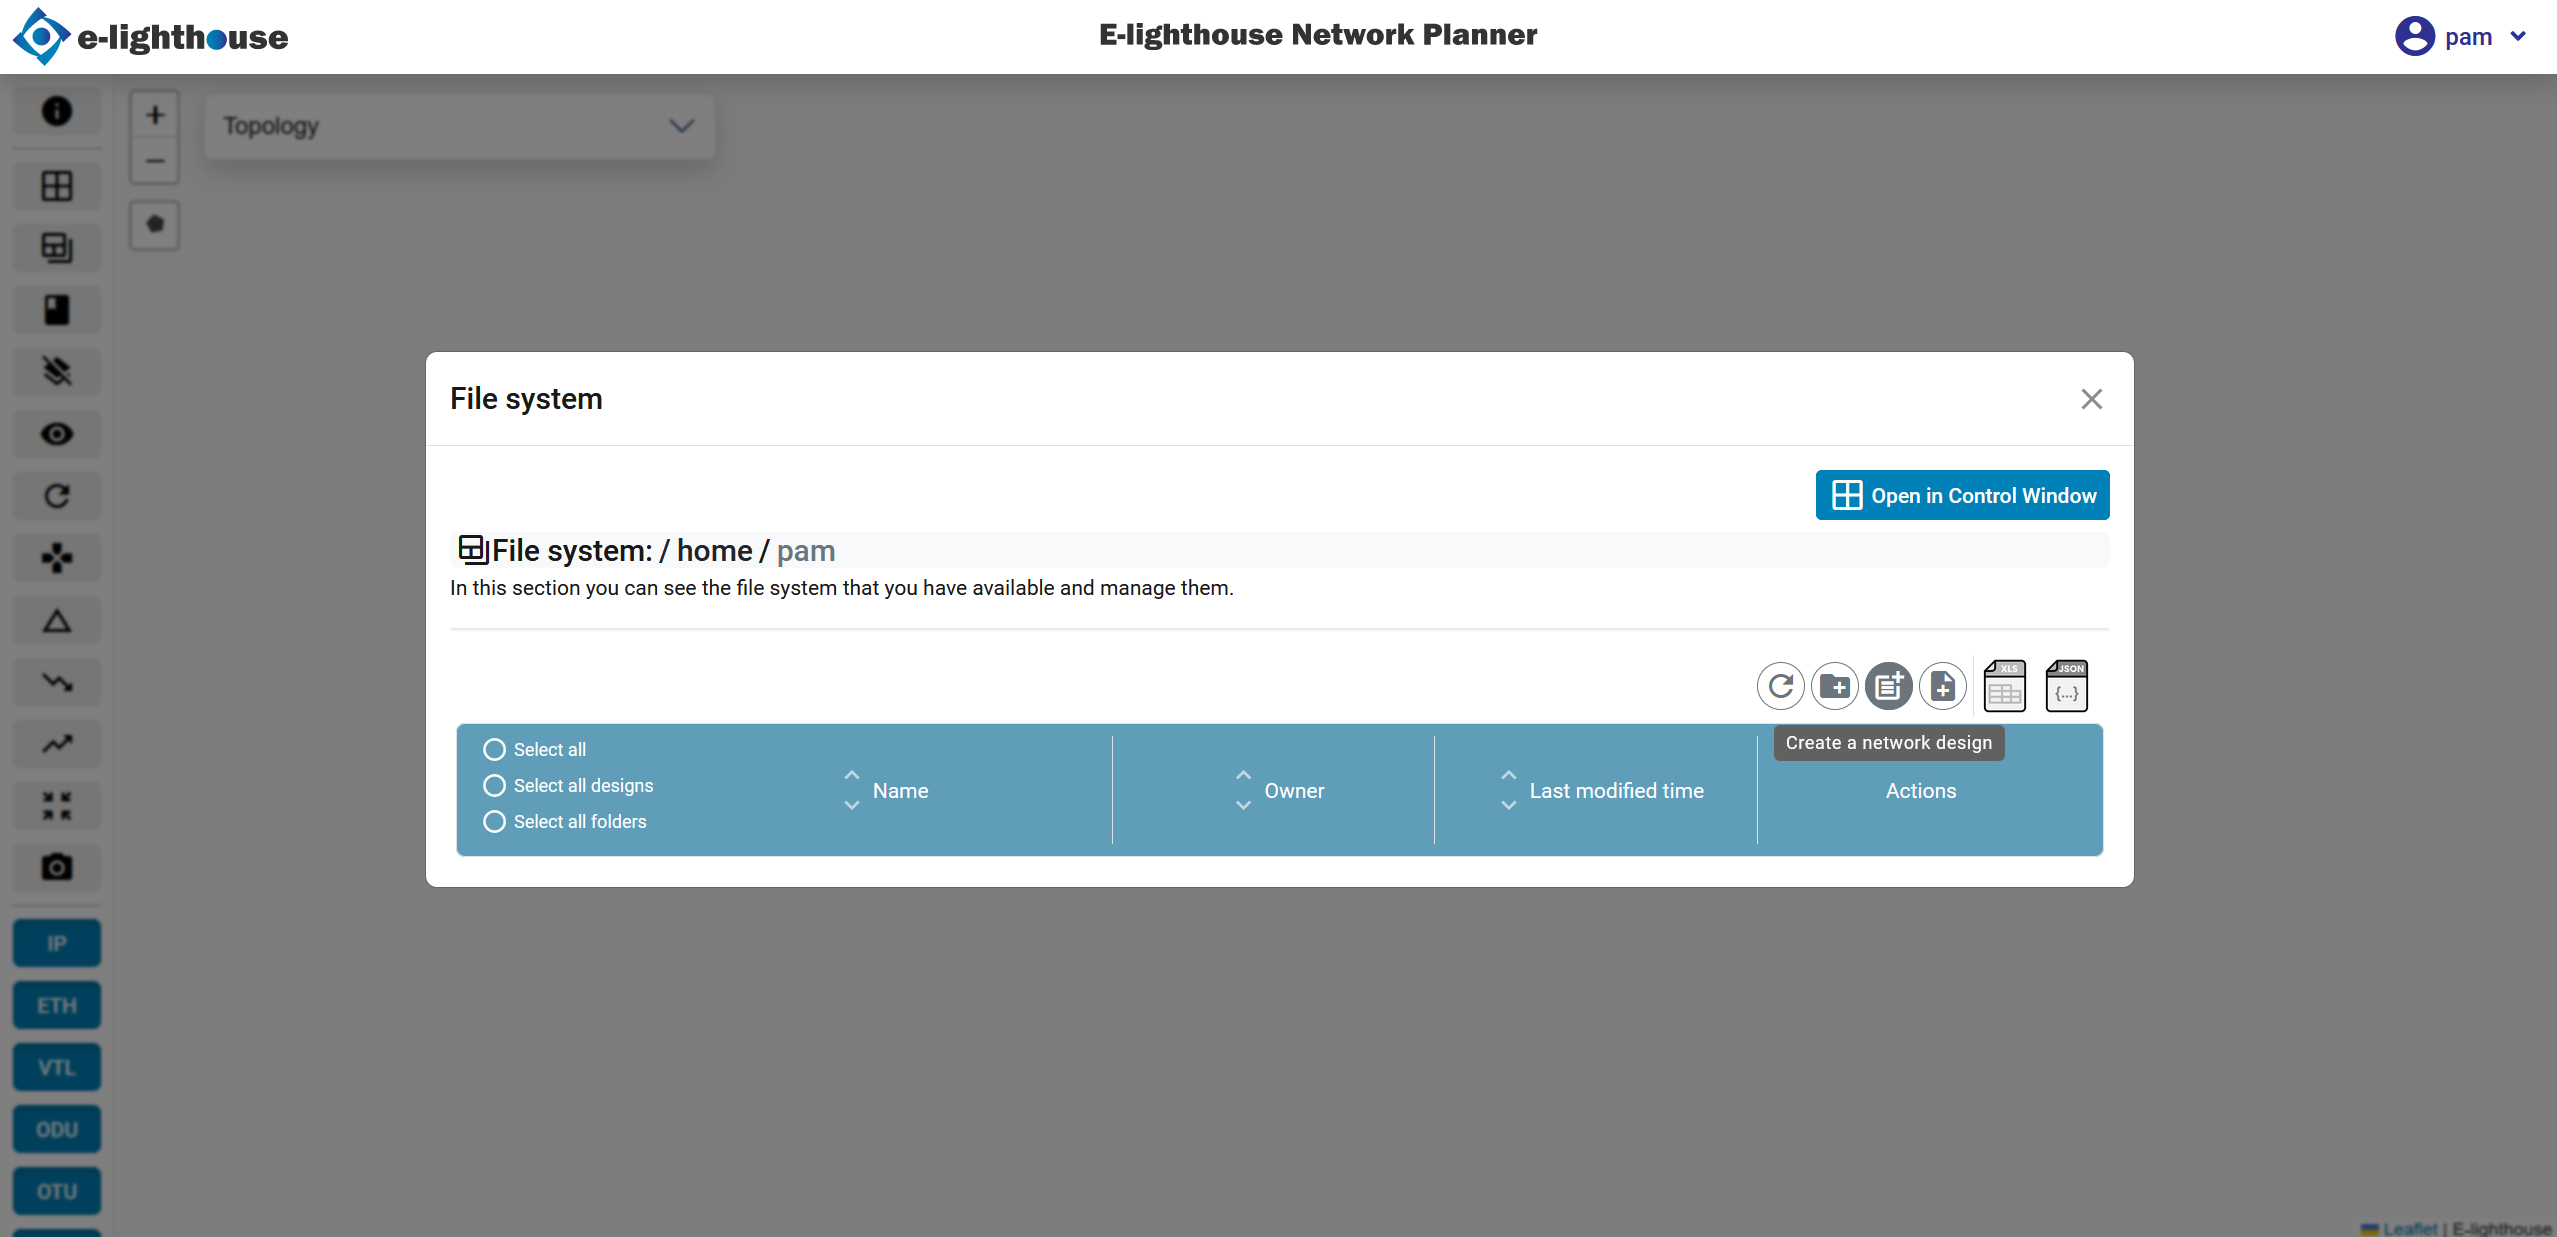
With the modal open, check the toolbar in order to find the button "Create a network design".
3. Complete the New Design Form
Once the button "create a network design" is pressed, you’ll be presented with a form. Fill in the required details such as:
- Design unique identifier. This field correspond with the name of the network design.
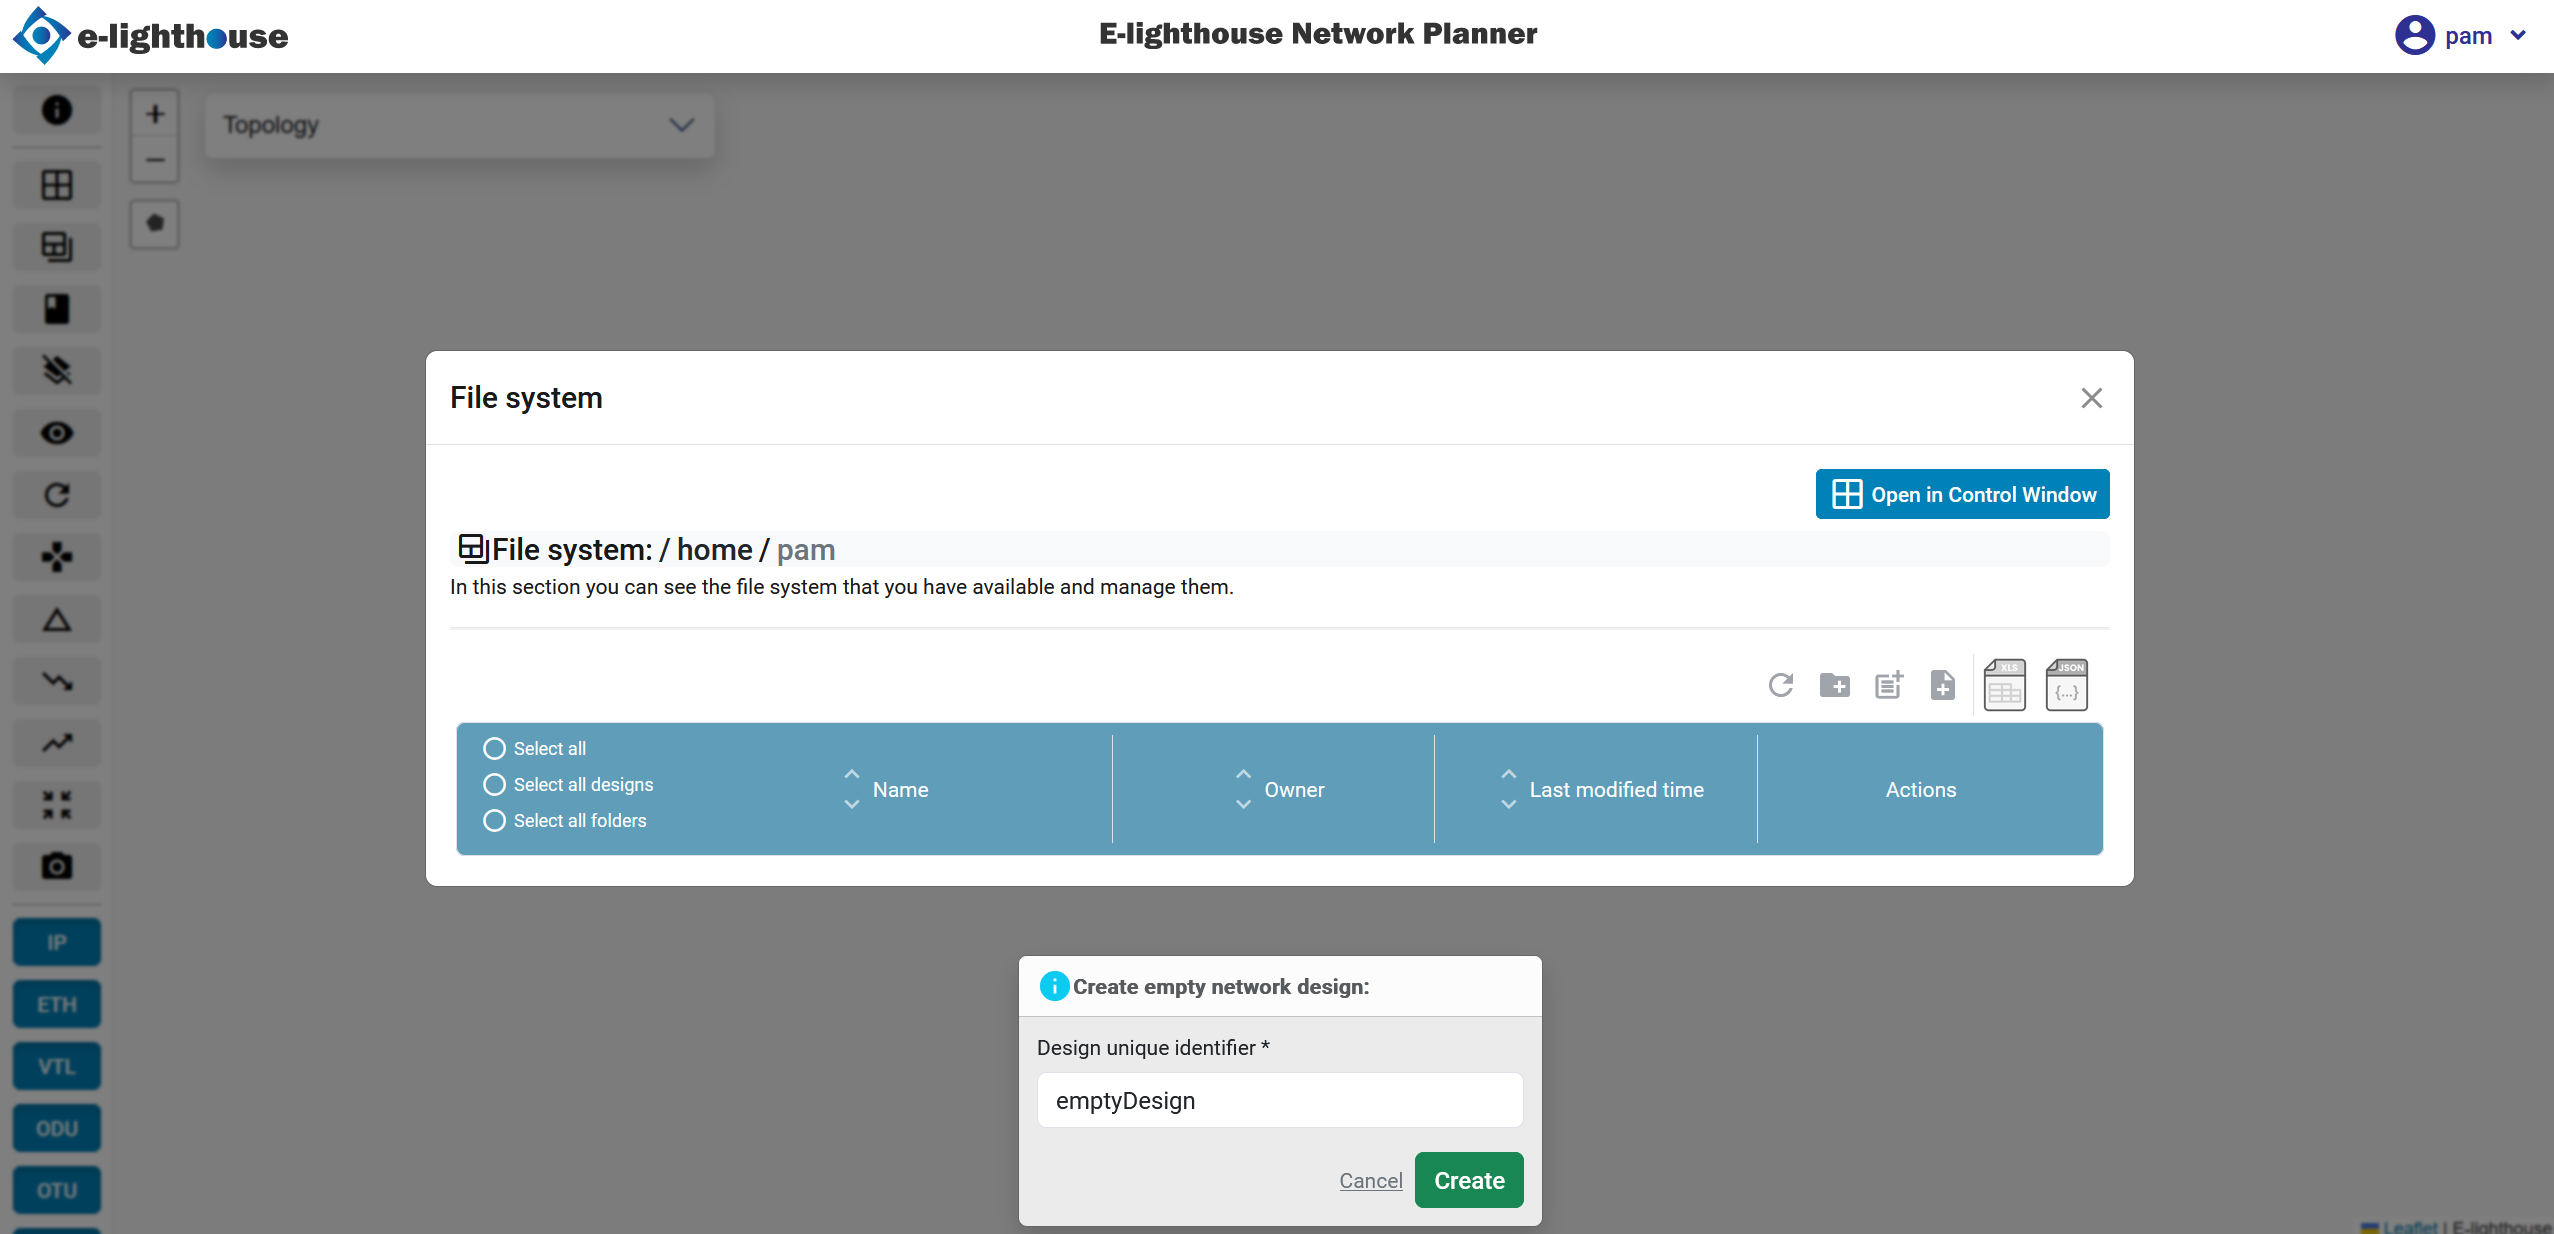
4. Confirm Design Creation
After completing the form, submit it to confirm creation. The system will generate a new design environment, and a confirmation message will appear.
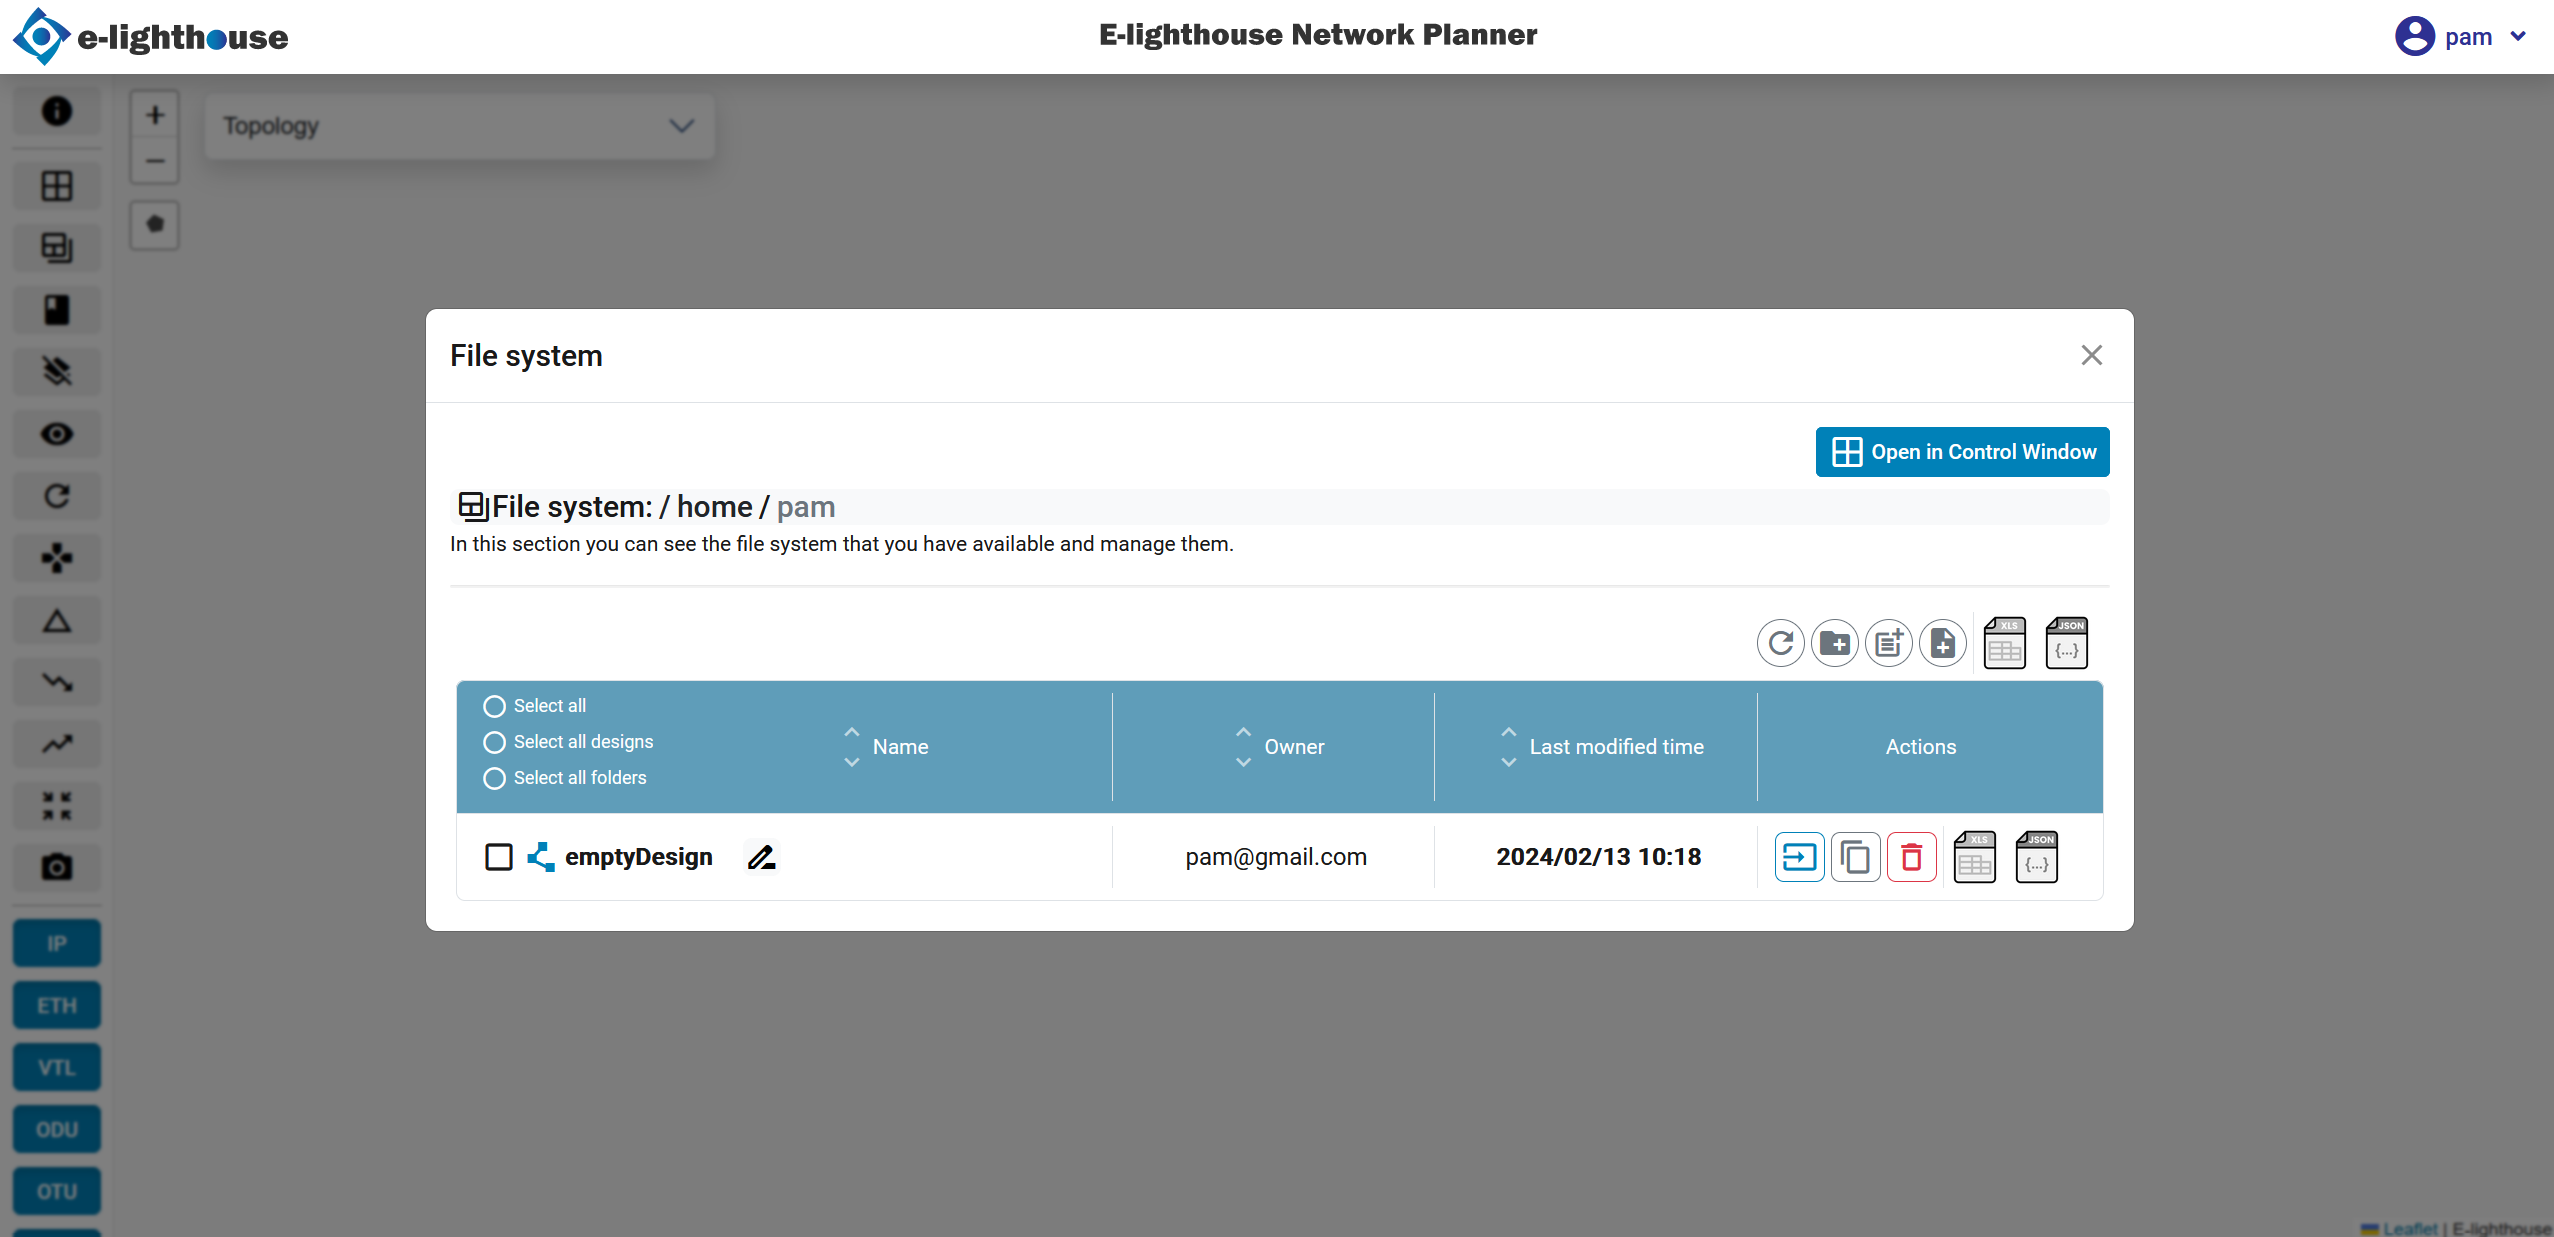
5. Load the New Design
Once the design is created, the file system view will refresh, and the new design will be listed. Click on the design name to load it into the Topology Window.
➕ Additional Features and File Management
To explore file management, import/export options, and design versioning, visit the File System section.
✅ Summary
Creating a new network design in ENP involves accessing the File System, opening the design form, and submitting your design configuration. This process is fully supported by the Web Client and designed to be intuitive for planners and designers.